The new scaling curve mechanism in Gig Performer 4 replaces the older linear-only scaling that was available in previous versions of Gig Performer. Scaling curves can be associated with widgets and with the Note Velocity values of MIDI In blocks. NB the same mechanism is also used with the Probabilistic Sound Designer but in that scenario, the curves actually represent probabilities, rather than scaling.
First looks
.
If you select a widget and switch to the Value section of the Widget Properties, you’ll see an area with a shape, by default a simple triangle representing a linear scaling from 0.0 to 100.0
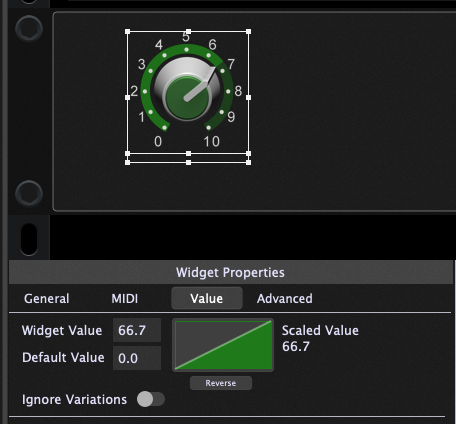
Before we go any further, take a very careful look at the knob itself. You’ll see that there is a knob pointer on the knob itself which is pointing to about 66. But look carefully at the green ring surrounding the knob. Note that the ring is bright to about 66 and then dark/faded the rest of the way.

Now let’s reverse the triangle on that scaling curve…
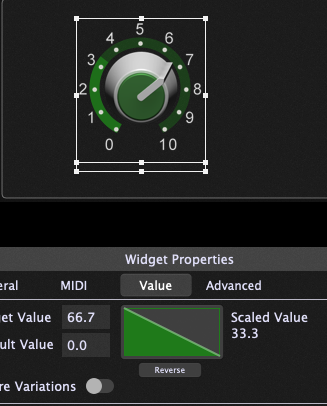
…and take a closer look at the knob again.

While the knob position has not changed, the green ring surrounding it has. The bright part of the ring only reaches about 33 and the rest is dark/faded.
This is the core concept to understand.
.
The knob pointer will always travel from 0 to 10, matching the position of a physical knob on your keyboard or control surface. But the value that will actually be sent to the parameter is indicated by the “top” of the bright ring around the knob. So if that triangle is reversed so that its highest value is at 0 and its lowest value is at 100, then the value sent out will be the opposite. If you group two widgets together and you reverse the linear curve of one of them, then as you adjust the widgets, the output value of one will increase while the other will decrease. You can use this for effects such as cross-fading.
The Widget Value and the Scaled Value (what gets sent to a plugin parameter) are displayed on the left and right hand side respectively of the curve.
Adjusting the curve
.
Obviously, there is more to the scaling curve than just that linear triangle and its reverse. You can in fact create all sorts of shapes. To start, click on the small scaling curve and a larger version will appear right underneath.
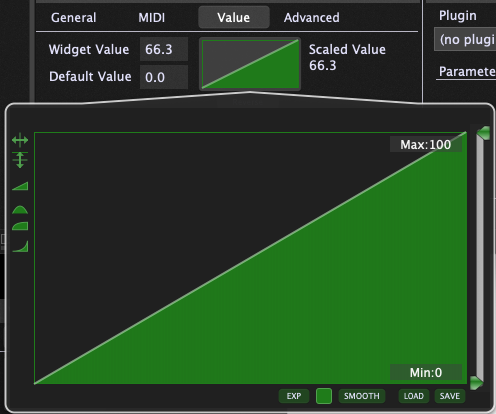
Well, this is a lot more interesting. Lots of controls and icons. The top two icons on the left are used to flip the curve horizontally or vertically. Click the bottom icon and then try flipping it horizontally and/or vertically.
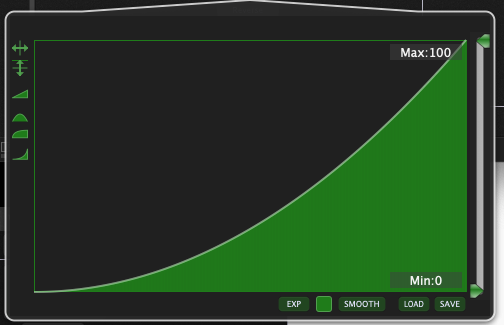
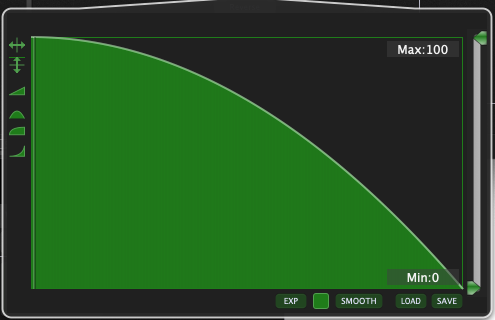
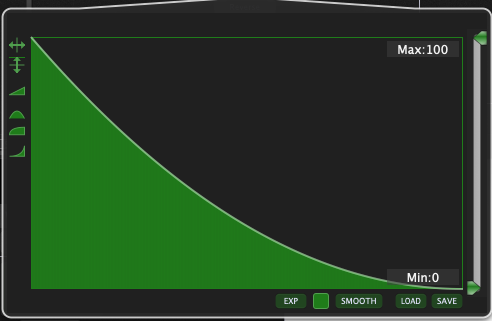
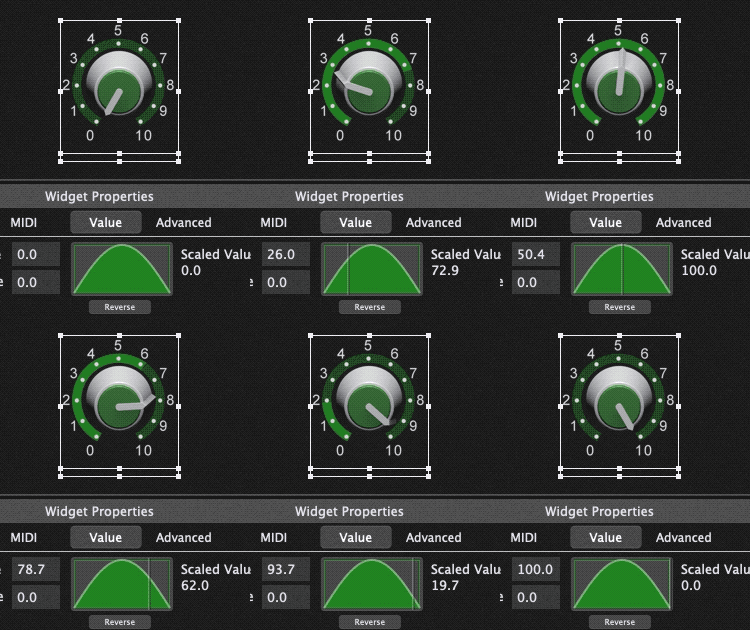
Select the half-sin shape and watch how the widget behaves (the green dial around it) as you turn it.
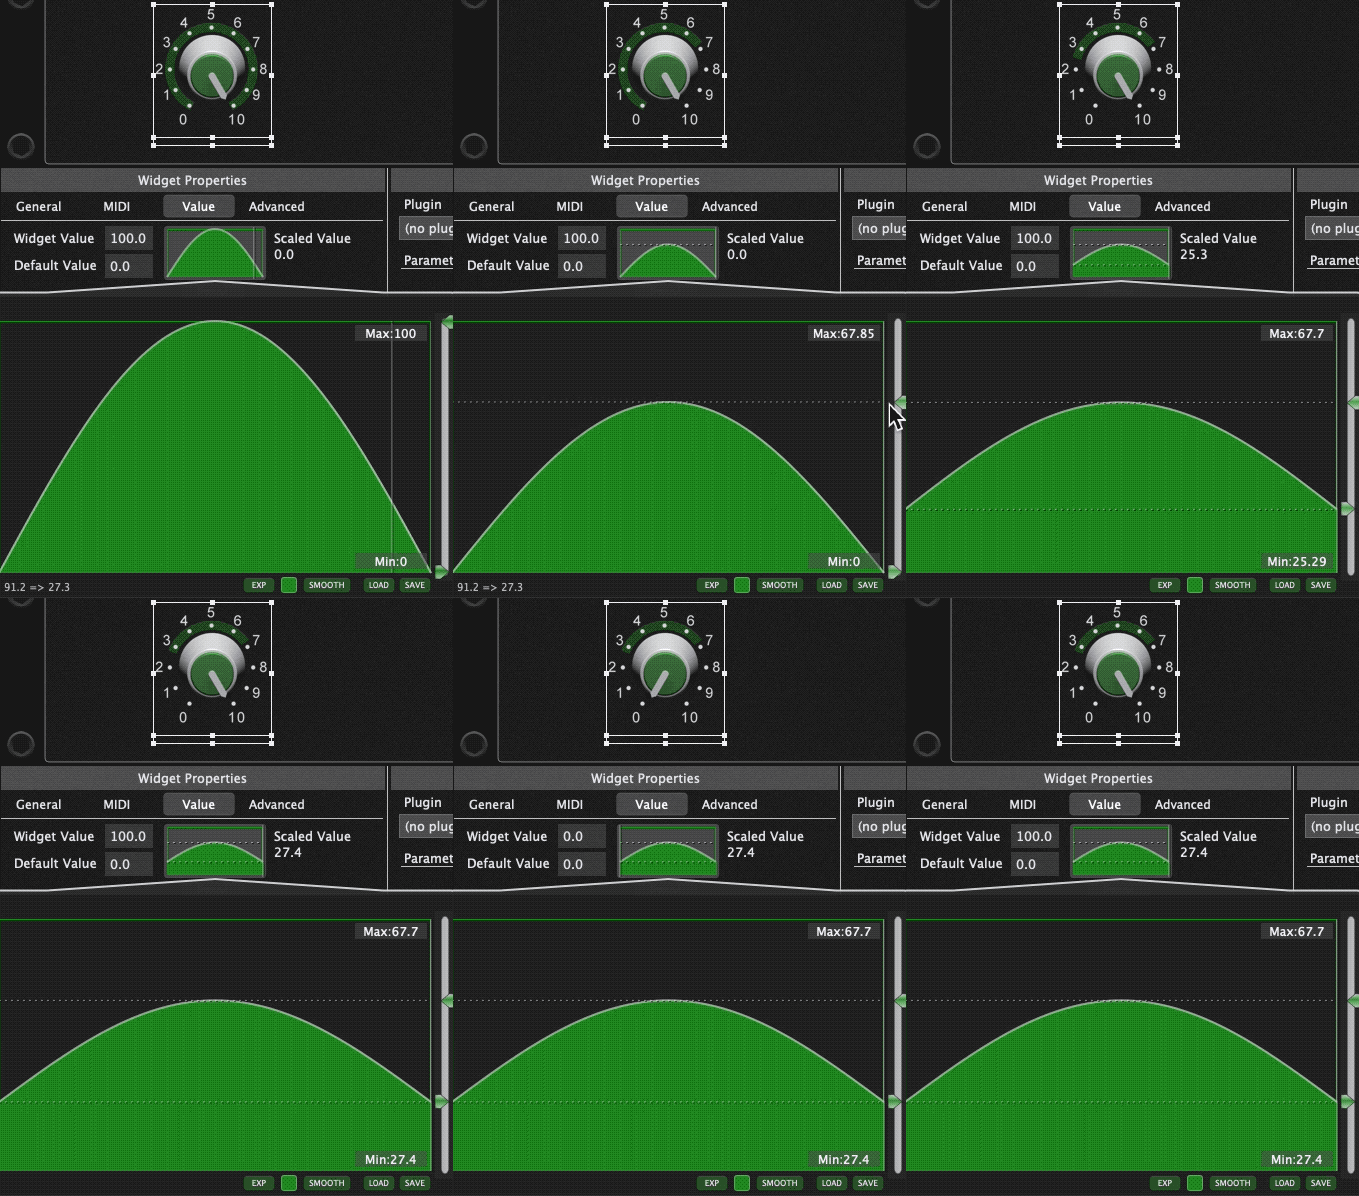
You can compress the curve between some minimum and maximum. Watch the green dial around the widget as you move it. Note that the dark part of that dial shows the total range of the output.
You can draw your own shape with the mouse and smooth it…
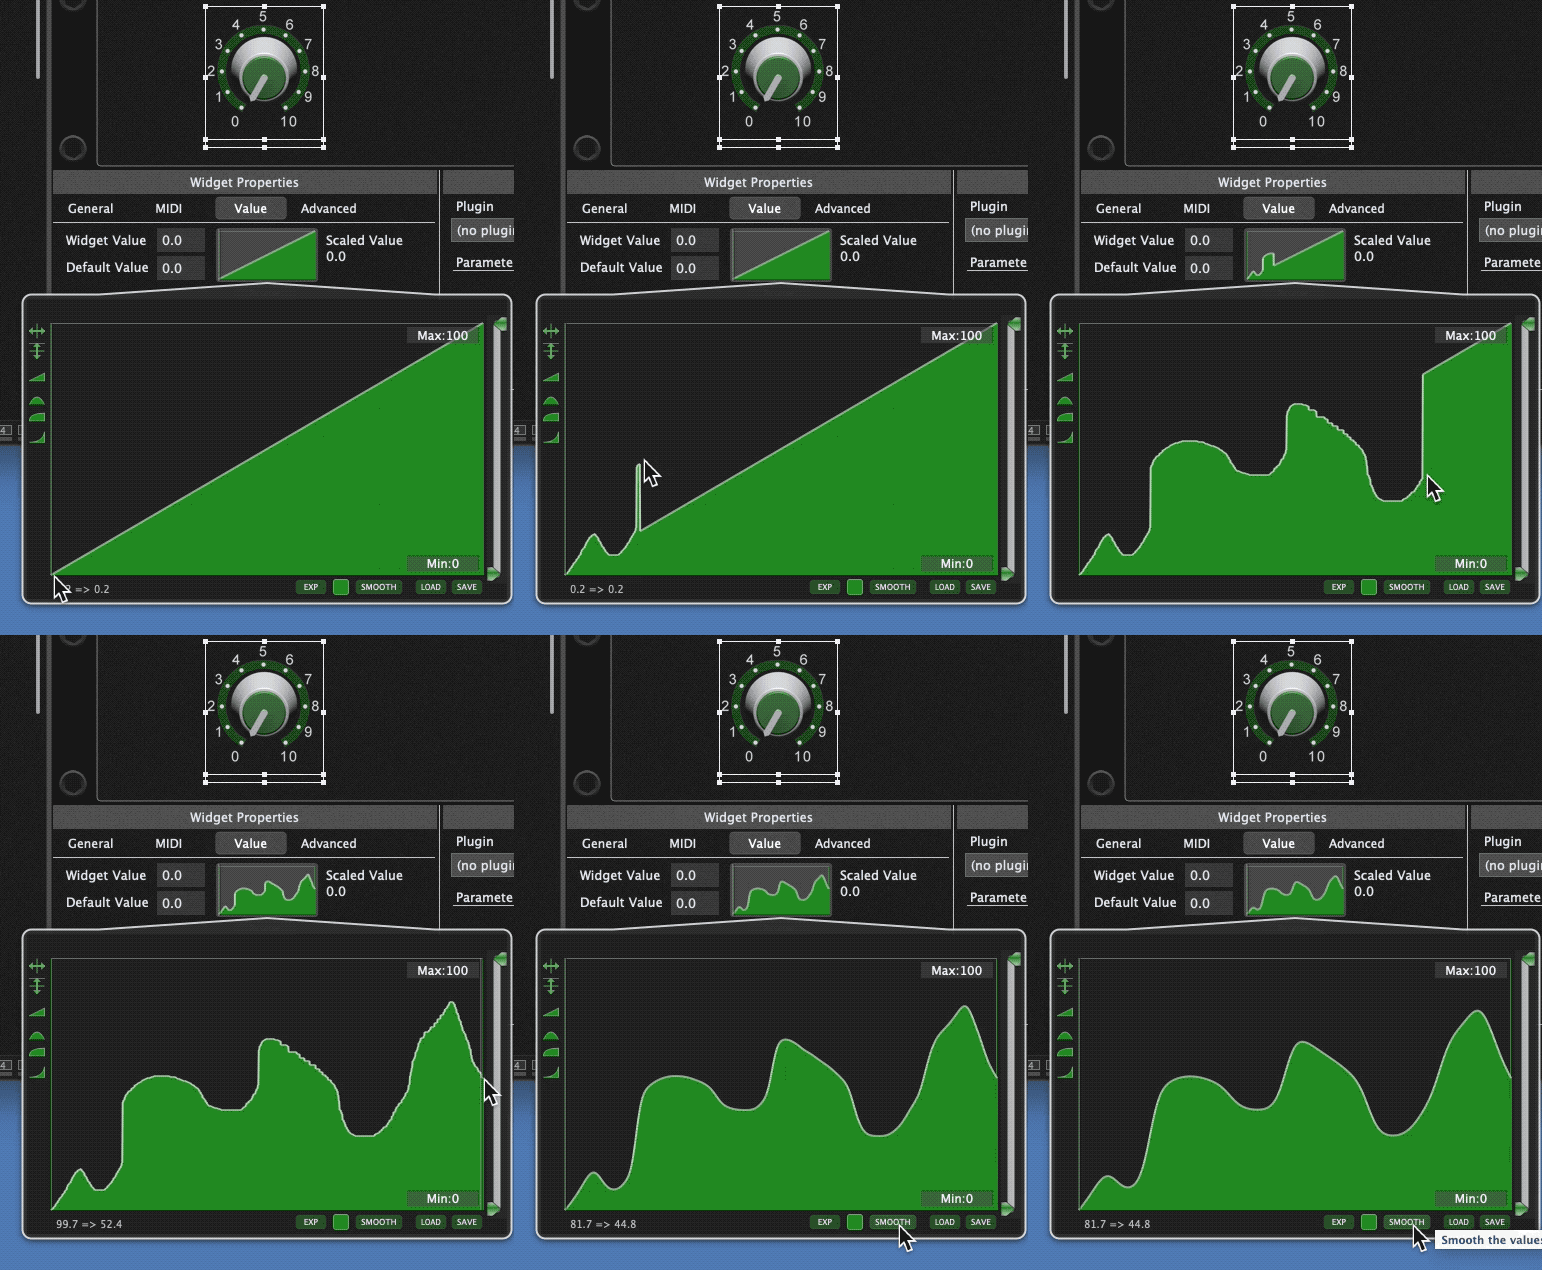
The Save and Load buttons on the bottom right allow you to save your curves and then load them again later.
You can also Shift+Click to copy a curve to the clipboard and then Shift+Ctrl+Click to replace the curve in another widget.
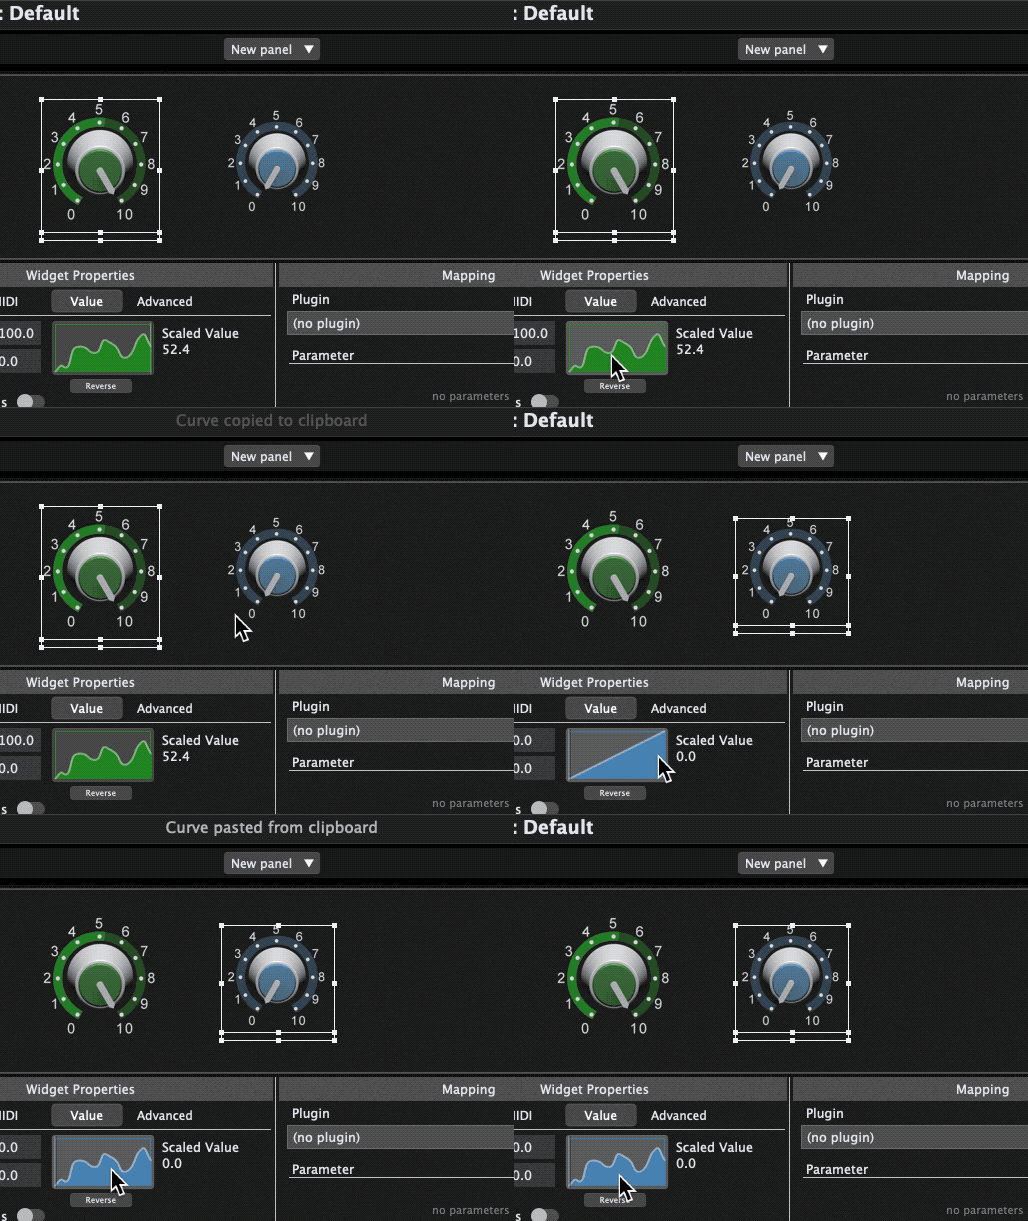
For more details about the scaling curves, including some more advanced options not discussed here, please refer to the online user guide.
If you have any questions or want to see additional tips, please visit this Community thread.
Own the Stage® with Gig Performer®
.
Related topics:
– What’s new in Gig Performer 4 (User Manual)
– How To Create Custom Velocity Response and Widget Scaling in Gig Performer 4 (Youtube)


